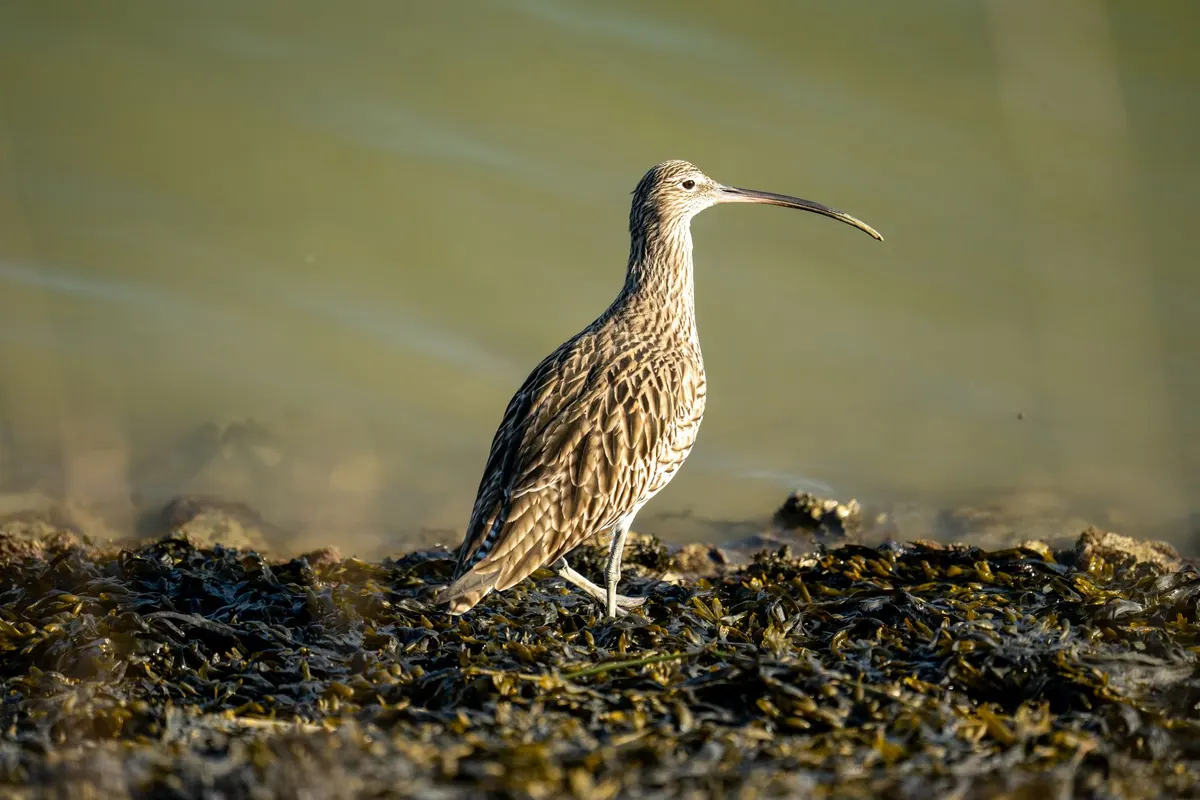
Ethical Bird Photography: A Checklist for Getting Close Without Causing Stress
September 28, 2026 - Photography

A notebook is the only piece of birding kit that gets better the more you use it. Binoculars stay the same from the day you buy them; a notebook fills up with the details that turn a fleeting glimpse into something you can check, question and eventually confirm. Most of us start one with good intentions, write “robin, garden, 8am” for a fortnight, then quietly stop. The problem is rarely discipline. It is that the notebook is not doing anything for us.
The method below fixes that. Every entry is written to be reread, and every reread should sharpen your identification skills a little. It takes about three minutes in the field and ten minutes a week at the kitchen table.
Friction kills notebooks. Use something small enough to live in a coat pocket — A6 is plenty — with a pencil attached by a length of cord. Ruled pages if you write prose, blank if you sketch. Waterproof ink if you plan to stand in drizzle.
Before you go out, write the header. It should take under a minute and it stops you writing vague entries like “woods, afternoon”.
Keeping the same header every time lets you compare entries months later. “Third time I have heard a tawny owl here on a still, clear evening” is only visible if you wrote the weather down the first two times.
This is the single most useful rule in the book. Write down what you actually saw before you reach for a guide, an app or your phone. Two or three sentences is enough.
Something like: “Small warbler, grey-brown above, pale buff below, faint pale supercilium, tail dipped constantly. Feeding low in brambles, never still for more than a second. Call a thin, high ‘tseep’.” Only then check what it was. If you cannot describe a bird, you have not really seen it — you have seen an impression of it. Writing the description first forces your eyes to work harder, and it gives you something honest to test your identification against.
Identification problems usually start with plumage and end with behaviour. A bird sitting still in good light is easy. A bird in a bush in November is not. Behaviour is often what narrows the options down.
Note how the bird moves, not just where. Tail-flicking, wing-flicking, hopping versus shuffling, creeping up a trunk, hovering, bobbing. A dunnock shuffling its wings and creeping along the base of a hedge looks nothing like a sparrow doing the same route. A sparrowhawk’s flap-flap-glide is worth writing down in those words.
What was it doing with its beak? Gleaning from leaves, probing mud, flycatching from a perch, hammering, tearing at carrion? Was it alone, in a pair, or in a mixed tit flock? Was it at the top of the tree or the bottom of the hedge? These details are quick to record and they often settle a difficult bird on their own.
Write down how the bird left as well as how it arrived. Undulating, bounding, direct, fluttering, high and fast, low over the water. Also note what you see when it turns away — a white rump, a barred tail, dark underwings. Rump and tail patterns are frequently the difference between two similar species.
Two things repay a little practice at home: drawing, and writing down calls.
Sketches are not artwork. Draw a rough outline — head, body, tail, legs — and then annotate it with arrows and labels: “dark eyestripe”, “long primary projection”, “white patch here”. Draw a species you know well from memory in the evening. The point is proportion, not elegance, and a bad drawing with five accurate arrows beats a beautiful one with none.
For calls, invent your own spelling and be consistent. “Tick”, “tseep”, “churr”, “wheet”, “chack”. Add the rhythm in plain English — long-short-short, repeated four times, slightly descending. Note whether it was an alarm call, a contact call between two birds, or song. If you carry a phone, recording is useful, but a written description you can read back into memory is what makes the sound stick.
An unreviewed notebook is a diary. A reviewed one is a training programme. Set aside ten minutes a week and work through it in this order.
It also helps to keep a “confusion page” — a spread for the pairs that trip you up. Chiffchaff and willow warbler. Marsh tit and willow tit. Common and green sandpiper. Siskin and greenfinch. Note the two or three features that separate them for you, in your own words, and add to it as you learn. Over a season, this page becomes the most valuable thing in the notebook.
Write something on every trip, even if it is three lines about a woodpigeon. Date the blank days rather than leaving gaps, so a quiet week looks like a quiet week and not a lost page. Do not rewrite entries neatly afterwards; the crossings-out and the arrows are the interesting part. Keep the notebook with your binoculars, where you will see it, rather than in a drawer with the maps.
Do that for a year and you end up with two things. One is a record of your local patch — what was there, when, in what weather — that no app can hold for you. The other is a set of notes showing exactly which identifications you have learned to make, and which ones you are still working on. That second thing is what actually improves your birding.
Photo: JessBaileyDesign / Pixabay
A practical checklist for photographing birds without causing harm, covering fieldcraft, distance, nesting season,...
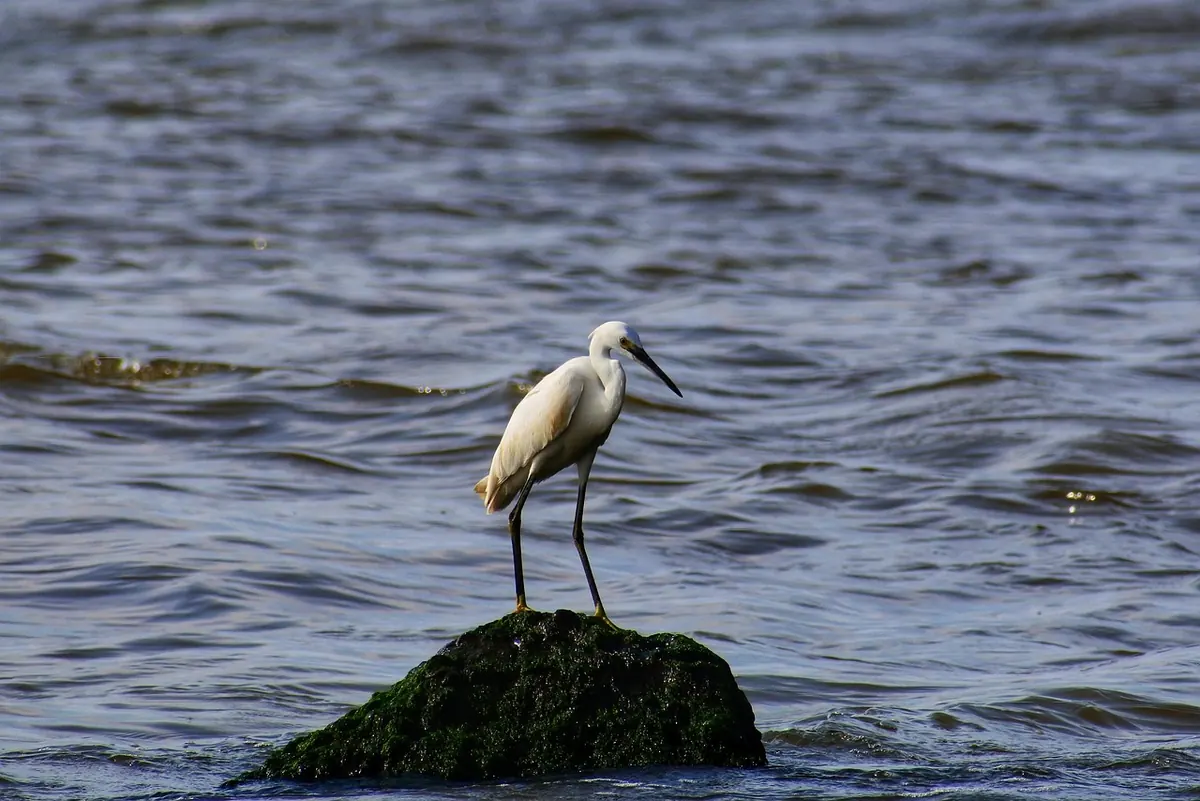
Bill length, leg colour, call and habitat are enough to separate curlews, whimbrels and both godwits. A practical...
Copyright © 2026 Plume Loop. All Right Reserved.