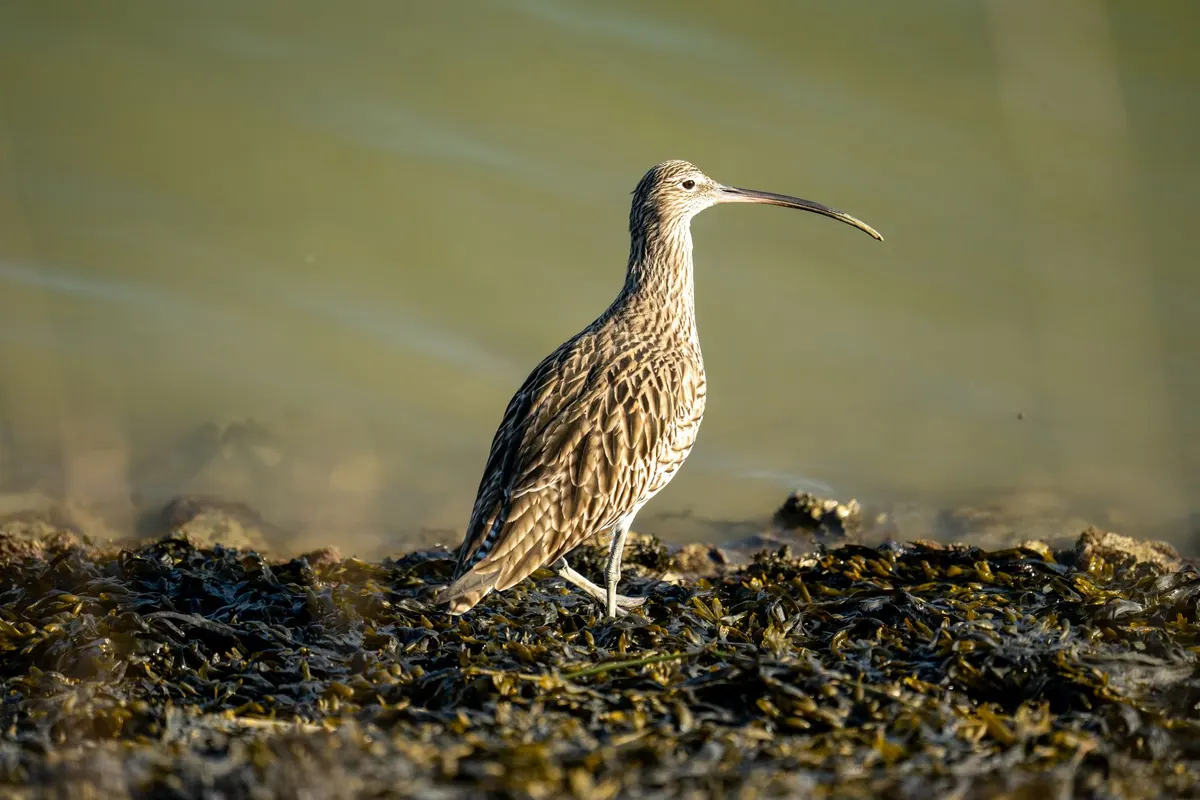
Ethical Bird Photography: A Checklist for Getting Close Without Causing Stress
September 28, 2026 - Photography
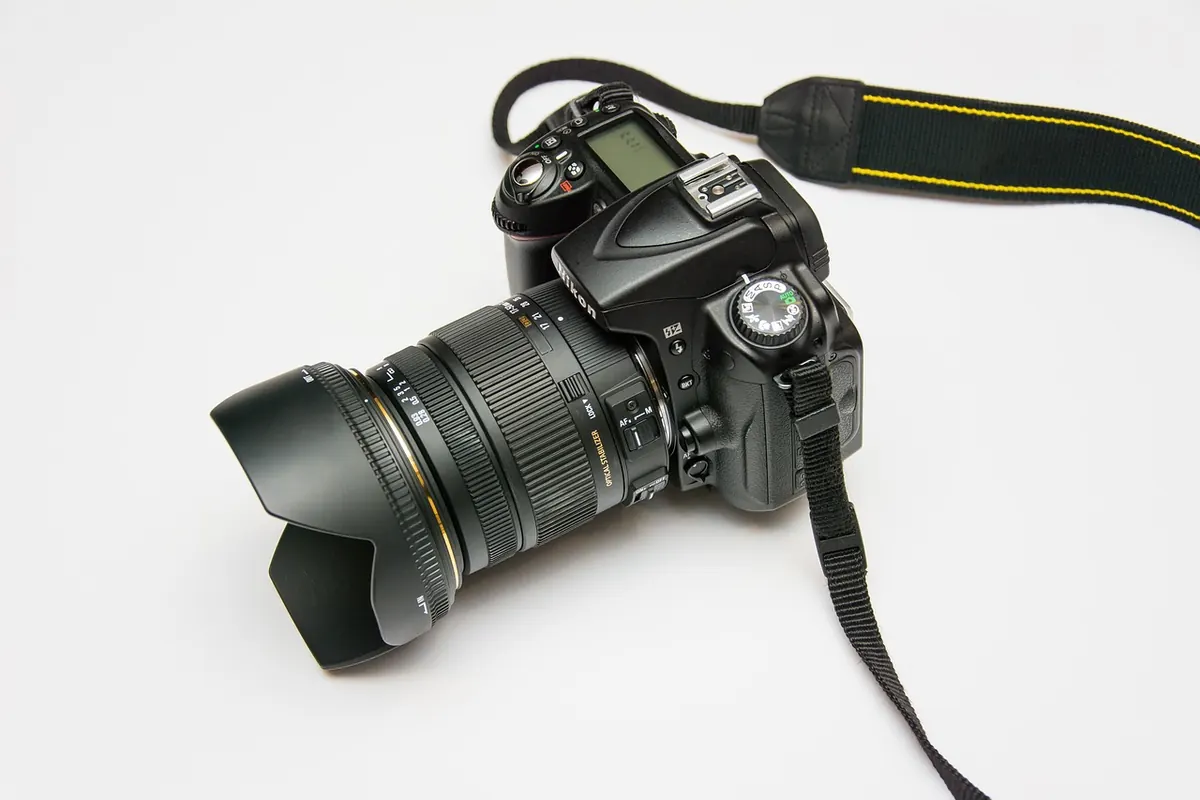
Most bird photographs that disappoint are not ruined by bad luck. They are ruined by the same five decisions being made in the same way, over and over: where the light is coming from, how fast the shutter is firing, what the autofocus has locked onto, what sits behind the bird, and how close the photographer tried to get.
All five are within your control, and none of them requires a new lens. Here is how each mistake shows up in the field, and what to do about it.
A grey, flat bird against a bright sky is the classic symptom. The camera exposes for the sky, the bird becomes a silhouette, and no amount of editing brings back the detail.
Start by getting the sun behind you or slightly over your shoulder. Side-lighting, with the sun about 45 degrees to the bird, is usually the most flattering: it catches feather texture and puts a highlight in the eye.
Then choose your hour. The first two hours after sunrise and the last two before sunset give warm, low light and busy, feeding birds. Middle-of-the-day sun is harsh, casts hard shadows, and makes pale species such as egrets and gulls very difficult to expose.
Bright overcast is not a disaster. It gives soft, even light with no blown highlights, and it suits detailed portraits of mottled brown species where strong sun destroys the pattern. What does not work is pretending the light is better than it is: underexposing and hoping, or shooting up into the sky and cropping hard.
Two habits help. Watch the histogram after every few frames rather than trusting the back screen, especially with white plumage. And if you are losing the bird to shade, move your feet — ten metres along the hedge often changes everything.
Movement blur is the most common technical fault. Camera shake is only part of it: a perched bird is rarely still, and small, fast species such as tits, warblers and wrens twitch constantly.
Stabilisation helps with your hands, not with the bird. As a rough starting guide for handheld work with a long lens:
Raising the shutter speed means raising the ISO, and that is usually the right trade. A slightly noisy but sharp frame beats a clean, blurred one. Noise can be reduced later; a missed moment cannot be recovered.
Technique matters too. Brace your elbow against a post or tree, tuck the camera into your shoulder, breathe out and squeeze the shutter rather than stabbing at it. Fire short bursts and check the results.
A sharp twig with a soft bird behind it is a setup problem, not a camera problem.
First, put the focus point on the eye. Not the body, not the wing — the eye. In most images it is the only place that must be sharp for the picture to work.
Second, match the mode to the subject. Continuous autofocus with subject or eye detection is the sensible default for anything that might move. Single-shot is fine for a genuinely static bird and lets you focus and recompose. If your camera offers focus zones, keep them small: a wide zone gives the camera permission to choose the branch.
Remember that autofocus needs contrast. In dim light or against a smooth, flat background it will hunt, and manual focus with magnification is not a failure — it is often quicker.
Look behind the bird before you look at the bird. A perfect subject on a rusty feeder, with a car park behind it, is still a snapshot.
The fix is usually position, not equipment. Move a few steps left or right until the background becomes distant foliage or open sky, and drop to the bird's eye level. Plenty of photographs are lost simply by pointing the lens down from a standing position.
At feeders, this is worth doing properly. Place a clean, natural branch near the feeder and let the birds queue on it; a lichen-covered twig or a bare hawthorn stem looks better than anything manufactured. Remove distracting stubs, but only in your own garden or with permission. A little extra distance and a wider aperture will blur the rest into something calm.
Getting closer is not a right. If a bird has stopped feeding, is calling in alarm, or is watching you instead of behaving naturally, you are too close — back off and let it settle.
Work from a hide, use natural cover, wear dull clothing, and move slowly and low. Learn the bird's routine before you attempt the photograph. In the UK, wild birds, their nests and their eggs are legally protected, and some species are protected from disturbance at the nest; if you are unsure, keep your distance and never cut vegetation around a nest. With sensitive breeding species or rare visitors, avoid posting precise locations.
The best fieldcraft is patience. A bird that trusts your stillness will often come far closer than one you follow.
Next time you are out, arrive before the light and spend the first twenty minutes without the camera, just watching. Pick one perch, settle in at its level, and set your shutter speed before the bird appears. Check the histogram, review what you have shot, and delete freely in the field.
Practise on the birds you see every day. Gulls, ducks, pigeons and robins give you hundreds of chances to get light, speed, focus and background right — so that when a kingfisher finally lands in front of you, the technical side is already handled.
Photo: rkarkowski / Pixabay
A practical checklist for photographing birds without causing harm, covering fieldcraft, distance, nesting season,...
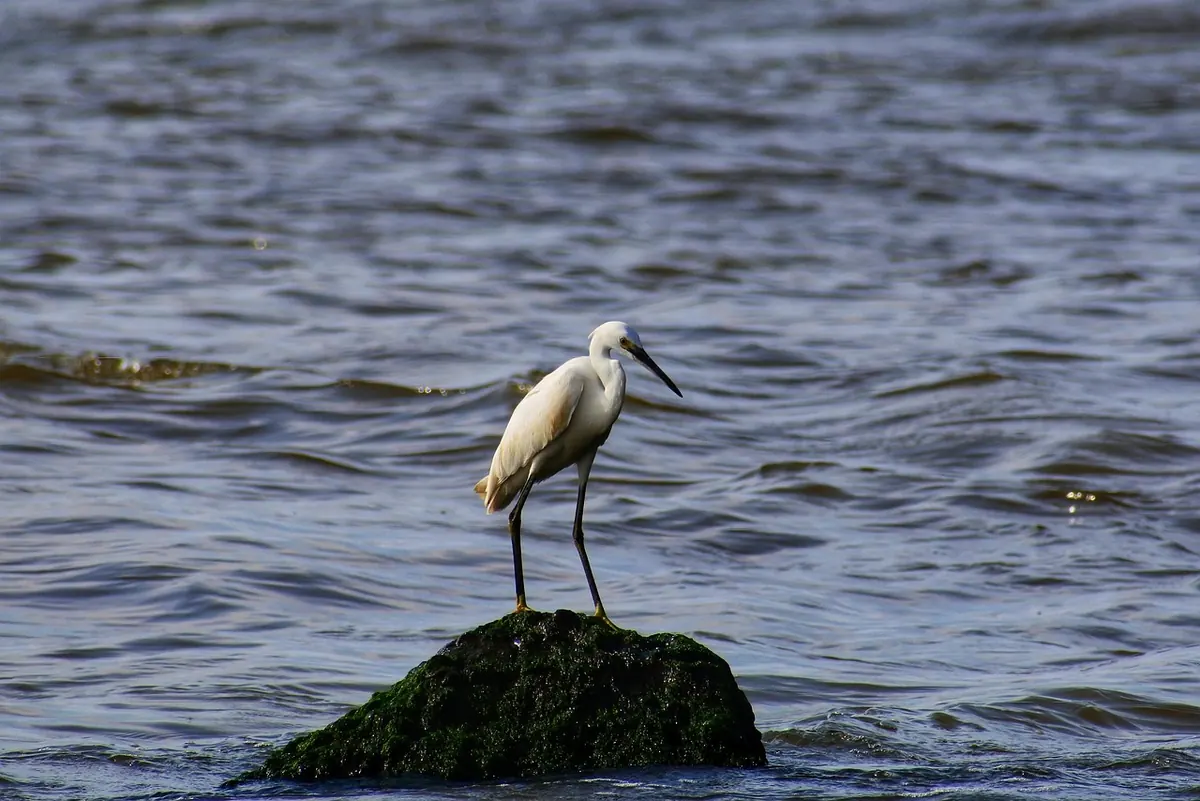
Bill length, leg colour, call and habitat are enough to separate curlews, whimbrels and both godwits. A practical...
Copyright © 2026 Plume Loop. All Right Reserved.