Ethical Bird Photography: A Checklist for Getting Close Without Causing Stress
September 28, 2026 - Photography

There is a moment on almost every first birdwatching trip when something small and brown flits into a hedge and the whole thing falls apart. Without optics you get a shape, a bit of movement and a guess. With a pair of binoculars that behave themselves, you get a bird: a streaked breast, a pale eye stripe, a nervous flick of the tail. That difference is worth an hour of your time before you spend any money.
You don't need to spend a fortune. You do need to understand four things: magnification, lens size, how a pair fits your face, and how to hold the things steady. Get those right and a modest pair will show you far more than an expensive pair you never quite got on with.
Every pair is described by two numbers. The first is magnification, the second is the diameter of the front lens in millimetres. So 8x42 means everything appears eight times closer, and each front lens measures 42mm across.
Magnification gets all the attention and is the least important of the two in practice. A 10x pair sounds better than an 8x pair until you try to hold it steady on a wader two hundred metres away: every tremble in your hands is magnified along with the bird, and the image swims. Most birdwatchers settle on 8x for everyday use. A 10x has its place on estuaries and reservoirs where birds are often distant, but it comes with a narrower view and demands a steadier hold.
The second number governs brightness and, roughly, weight. A 42mm lens gathers plenty of light for the busy hours around dawn and dusk. Smaller lenses — 32mm, 25mm — make for lighter binoculars you'll happily carry all day, but the image dims in the gloom of a winter afternoon; larger ones around 50mm are bright and heavy, fine from a hide and less fine on a ten-mile walk. As a rough guide to low-light performance, divide the second number by the first: an 8x42 comes out at about 5.3, an 8x25 at about 3.1.
The specifications only tell you so much. These are the things worth checking in your hands:
Binoculars come in two shapes. Roof prisms have straight barrels in line with your eyes; porro prisms have offset barrels and a chunkier body. Roof prisms now dominate because they're slimmer, easier to seal against water and easier to hold for long periods. Porro prisms can still offer good optics for less money if the bulk doesn't bother you.
Buy from a shop or dealer who will let you take a pair outside and look at something distant — a tree, a rooftop, a passing pigeon. Indoors, under artificial light, almost anything looks acceptable. Second-hand binoculars are worth considering, as a decent pair will outlast several owners, but check for cloudy lenses, visible fungus inside the barrels, a gritty focus wheel, and double vision when you look through them. If you see two images rather than one, walk away.
Plenty of disappointing binoculars are simply badly adjusted. Ten minutes of setup makes a real difference:
Finding a bird in the view is a skill, and it's called getting on a bird. Everyone fumbles it at first. Keep both eyes open: look directly at the bird with your naked eye, then raise the binoculars to your face without moving your head. You aren't searching through the binoculars, you're already looking at the target and simply adding magnification.
Then lock on to something fixed — a particular branch, a fence post, the corner of a hide — and follow from there rather than sweeping the whole scene. Practise on anything: a sign, a chimney pot, a distant cyclist, a leaf moving in the wind. Ten minutes in the garden a few times a week and the motion becomes automatic.
For steadiness, tuck your elbows against your ribs and grip the barrels near the front. Rest on a gate, a fence post or the ledge of a hide. Sitting with your elbows on your knees is surprisingly stable, and breathing out slowly as you focus helps more than you'd expect.
Take your binoculars somewhere with water and open sky — a local reservoir, a gravel pit, a park lake — and give yourself an hour. Sit still for ten minutes and let the birds come back after your arrival. Start with the obvious ones: a mallard, a moorhen, a wood pigeon on a wire. Get used to the feel of the focus wheel under one finger while your other hand supports the barrel.
A few habits will keep them working for years. Blow dust off the lenses before wiping them, use a microfibre cloth rather than your sleeve, and don't leave them on a car dashboard in summer sun. Store them in the case, or at least with the eyepiece cover on, and keep the lens caps on a short leash so you don't lose them. If the image ever looks cloudy, or the focus turns stiff, have them serviced rather than putting up with it.
Buy a pair that fits your hands and your eyes, set them up once, and then stop thinking about the equipment. The birds are what you came for.
Photo: TimHill / Pixabay
A practical checklist for photographing birds without causing harm, covering fieldcraft, distance, nesting season,...
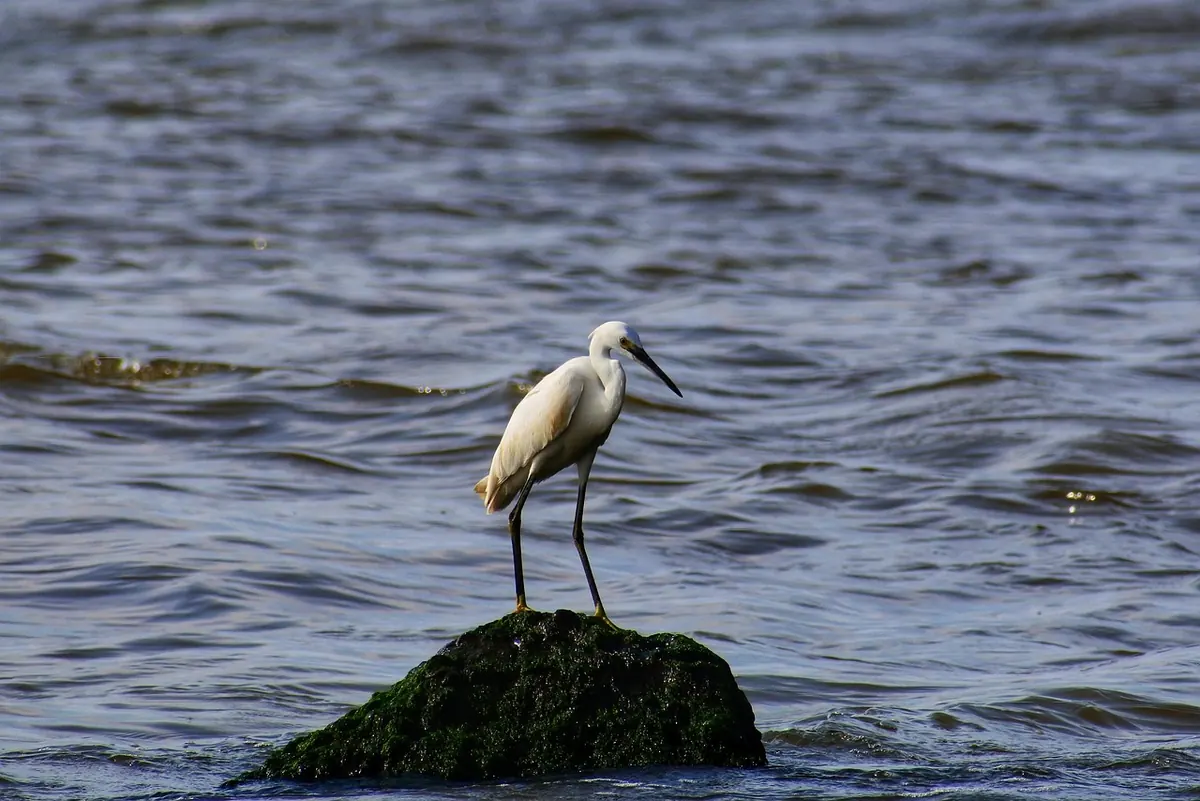
Bill length, leg colour, call and habitat are enough to separate curlews, whimbrels and both godwits. A practical...
Copyright © 2026 Plume Loop. All Right Reserved.